![]() Navigate to the Edit Vendor Returns screen.
Navigate to the Edit Vendor Returns screen.

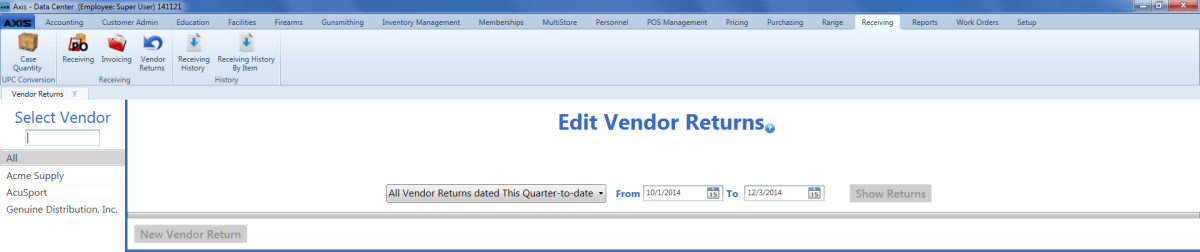
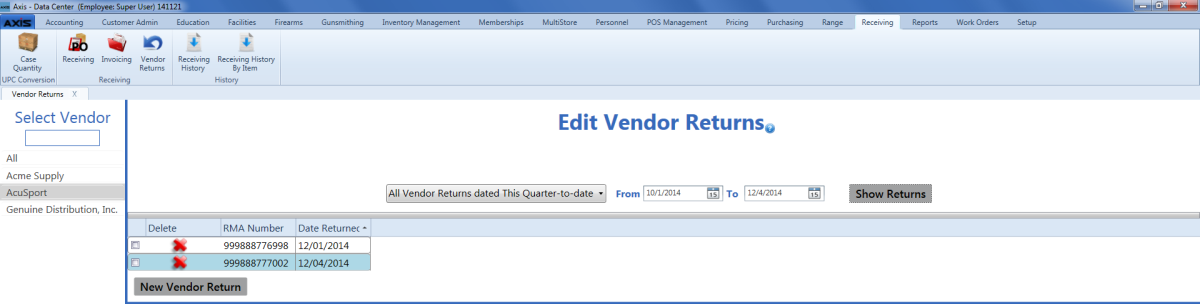
Click a vendor name in the Select Vendor list to display the vendor's returns on the screen.
Note: If needed, enter all or part of a vendor’s name in the field to show only matching vendors in the Select Vendor list.
Select a predefined time frame option (e.g., "All Vendor Returns dated Last Quarter") from the drop-down at the top of the page to automatically fill the From and To fields.
Note: To create a custom time frame, select the "All Vendor Returns dated in Custom period" option from the drop-down field and enter starting and ending dates in the From and To fields.
- Click the Shows Returns button to display all invoices dated during the time frame.
Complete the following procedures as appropriate to manage vendor returns:
|
|
|
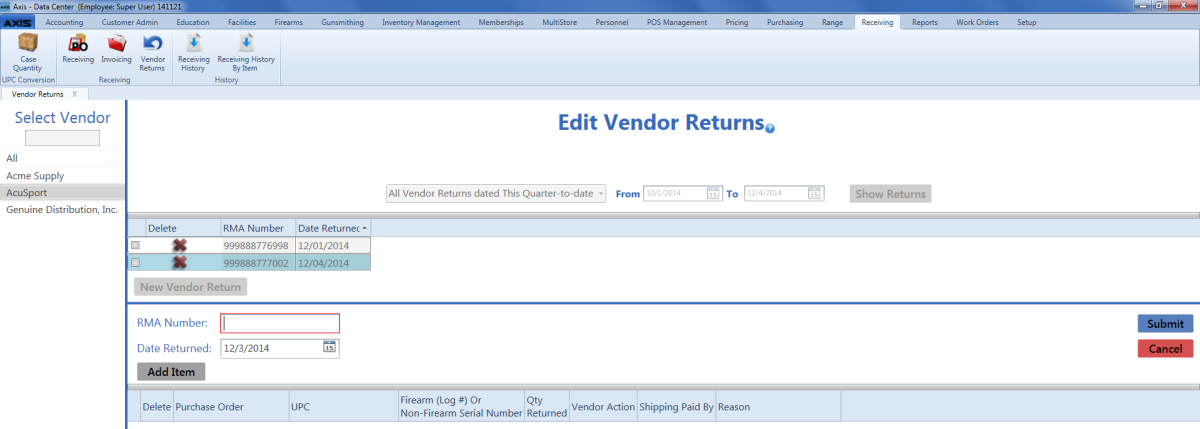
- Click the Add Item button to create an open entry in the return detail table.
- If appropriate, select the associated purchase order from the Purchase Order drop-down.
- Select the item's UPC from the UPC drop-down (or scan/enter the desired UPC in the field).
- If the item is a firearm or serialized non-firearm item, complete one of the following procedures as appropriate:
- Enter a Firearm's Log Number:
- Click the Select button in the Firearm (Log #) Or Non-Firearm Serial Number field to display the Firearm Inventory window.
- Check the firearm's Select checkbox (or enter its log number in Scan Log # here field and press the Enter key) to select the firearm.
- Click the Submit button to place the firearm's log number in the Firearm (Log #) Or Non-Firearm Serial Number field.
- Enter a Serialized Non-Firearm Item's Serial Number:
- Click the Select button in the Firearm (Log #) Or Non-Firearm Serial Number field to display the Select Product Serial Number window.
- Select the appropriate serial number from the drop-down field.
- Click the Submit button to place the item's serial number in the Firearm (Log #) Or Non-Firearm Serial Number field.
- Enter a Firearm's Log Number:
- Edit the amount in the Qty Returned field as needed.
Select the vendor's remedy for the situation from the Vendor Action drop-down.
Note: If "Issue credit" is selected for one item in a return, it must be selected for all items in the return.
- Select the shipping paid option from the Shipping Paid drop-down.
- Enter the reason the item is being returned in the Reason field.