![]() Navigate to the Range Use Products screen.
Navigate to the Range Use Products screen.


Complete the following procedures as needed to manage lane use products:
|
|
|
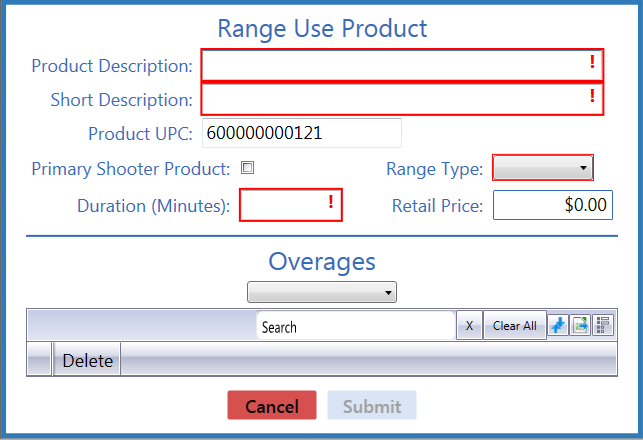
Enter/edit the product description in the Product Description field.
If this is a primary shooter product, check the Primary Shooter Product checkbox.
Note: A primary shooter product (checked box) can be assigned to a range lane by itself. A secondary shooter product (unchecked box) can be assigned only if a primary shooter is already on the lane.
Enter/edit the duration (in minutes) in the Duration field.
Select a range type from the Range Type drop-down field.
Note: A customer will be allowed to rent only the selected type of firearm when purchasing this product.
If an overage charge is desired for this product, select the appropriate charge from the Overages drop-down to add it to the list. (Click a charge's Delete button to remove it from the list.)
Note: Only one overage charge may be applied to a range product at a time. Refer to Manage Range Overage Charges for information on creating overage charges.
Click the Submit button to display the new/modified product on the Range Use Products screen.
Click the tab's Close button to close the screen.