Complete the Set Up and Edit the Range Waiver procedure as needed to establish waiver settings. (Be sure the number of days before the waiver needs to be resigned is greater than zero).
Contact RTG Support (800.547.7120) to arrange an appointment to complete the final portion of Smartwaiver software setup and obtain necessary credentials.
Open your Smartwaiver Account
-
Open a web browser and navigate to the following URL to display the Smartwaiver welcome page:
-
Complete either of the following as appropriate:
- If the screen displays a Return to My Account button, click it to display your account's control panel.
- If the screen displays a Log In button, click it and complete either of the following as appropriate:
- Enter your Username and Password and click the Log In button to log in to your existing account.
- Click the Sign Up button to display the Create Your Account window and follow onscreen instructions to establish a new account.
Create and Publish your Smartwaiver Waiver
-
Open your Smartwaiver account and display the account's control panel.
Note: Feel free to click the help links as needed for assistance from Smartwaiver support.
-
Click the Create/Edit Waivers option in the menu on the left side of the screen to display the Let's Get Started message.
Note: If the menu is not present, click the hamburger (three bar) button in the top left corner to display it.
- Click the No I don't have a waiver button to display a new message.
-
Note: This procedure uses the software to quickly create an online waiver. Refer to online instructions for converting an existing waiver into an online version.
-
Click the create a smart waiver link to display the Let's Get Started message again.
-
Click the I understand button to display the New Waiver screen.
- Follow onscreen instructions to create your waiver.
When the screen displays the Options step, click the Emails heading to expand it.
Make sure the Send a verification email to participants that complete your waiver online checkbox is not checked.
- Continue following onscreen instructions
- When prompted, click the waiver's Publish Your Waiver button to display more controls.
Copy the Waiver's URL
-
Click the Add to Your Website option in the menu on the left side of the screen to display the Add Your Smart Waiver to Your Website page.
Note: If the menu is not present, click the hamburger (three bar) button in the top left corner to display it.
-
Scroll down to display the Send a link section.
- Click the link to your waiver link to display the Add a link to your emails message.
-
Note the URL (link) provided. Copy and paste the URL in a safe location.
Note: It may be helpful to email it to yourself.
Consult with RTG Support
RTG Support will assist in performing these procedures during the appointment.
Create an API Key
-
Click the Export Data option in the menu on the left side of the screen to display the Export and Integrate Your Waiver Data page.
Note: If the menu is not present, click the hamburger (three bar) button in the top left corner to display it.
-
Scroll down to display the API section.
- Click the Get your API Key button to display the API Keys page.
-
Read the page.
- Enter a label (name) for the API key in the Create an API Key field.
- Click the Create button to display the Your API Keys section.
-
Note the provided API key. If desired, copy and paste (or email) it to a safe location for future use.
Set Up a Webhook
- Click the Manage Webhooks button on the API Keys page to display the API > Webhooks page.
- Read the screen.
-
Enter the company URL in the Your Webhook URL field.
Note: This is not the URL that was copied earlier. RTG Support will provide this URL.
-
Select the desired option from the Participants are required... drop-down.
Note: It may be preferable to select the Do not wait... option.
- Click the Update button.
Activate the Smartwaiver Feature in the AXIS System
-
 Navigate to a store's Store Information for (store) screen.
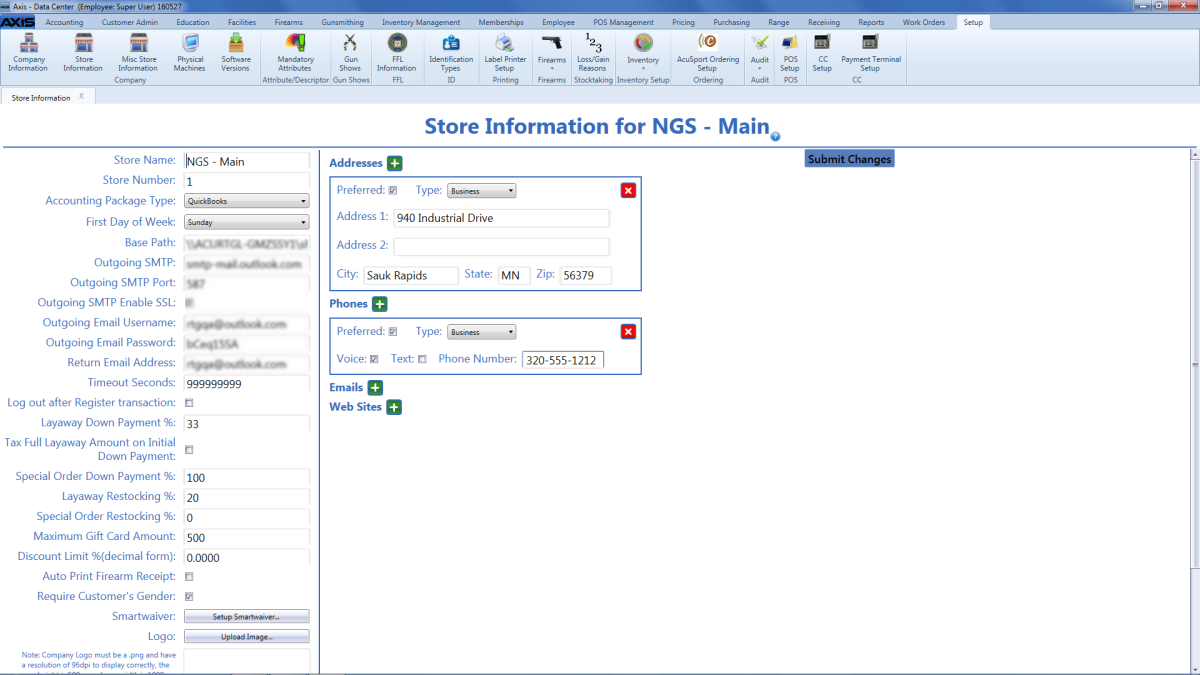
-
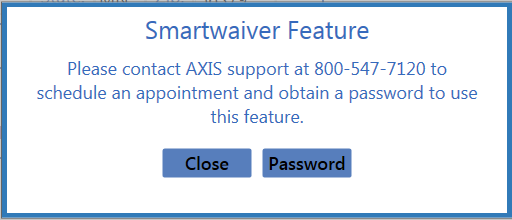
Click the Setup Smartwaiver button to display the Smartwaiver Feature window.
-
Click the Password button to display a new Smartwaiver Feature window.

-
Enter the Smartwaiver Feature password in the field.
Note: RTG Support will provide this password.
- Click the Submit button to open the Smartwaiver Setup window.
-
Enter the API key created earlier in the API Key field.
Note: RTG Support will provide this number.
-
Enter the API version number in the API Version field.
Note: RTG Support will provide this number.
- If desired, click the Test Communications button to test communications.
- Click the Submit button to close the window.