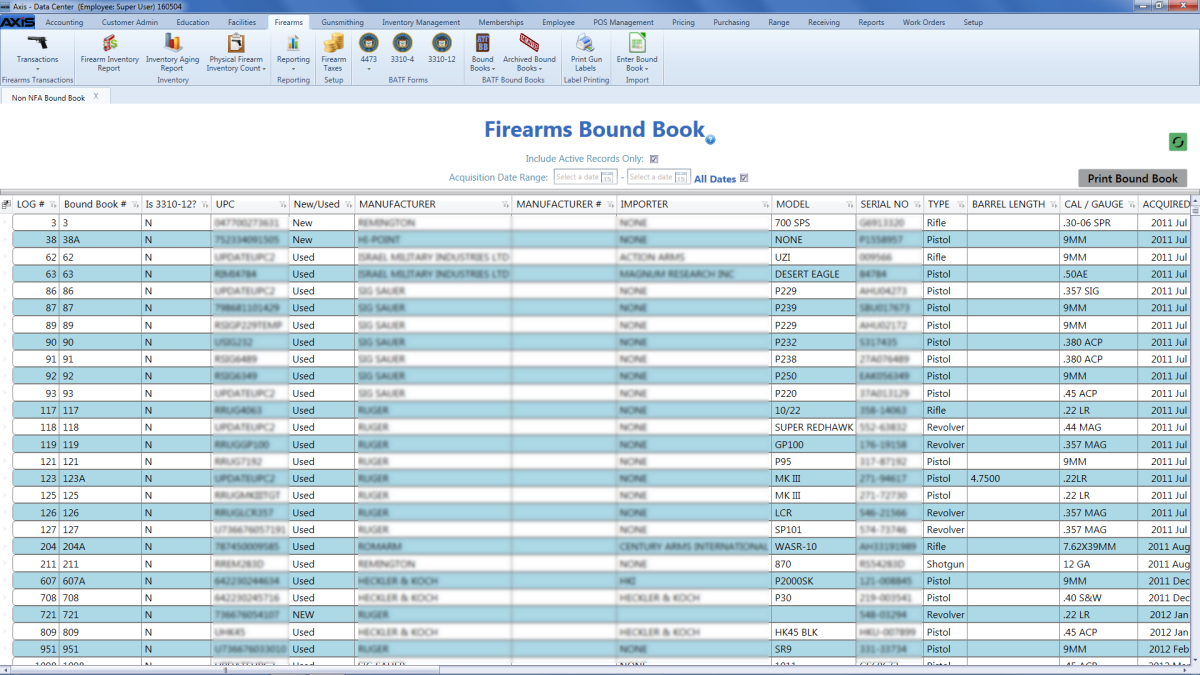
![]() Navigate to the desired Bound Book screen.
Navigate to the desired Bound Book screen.

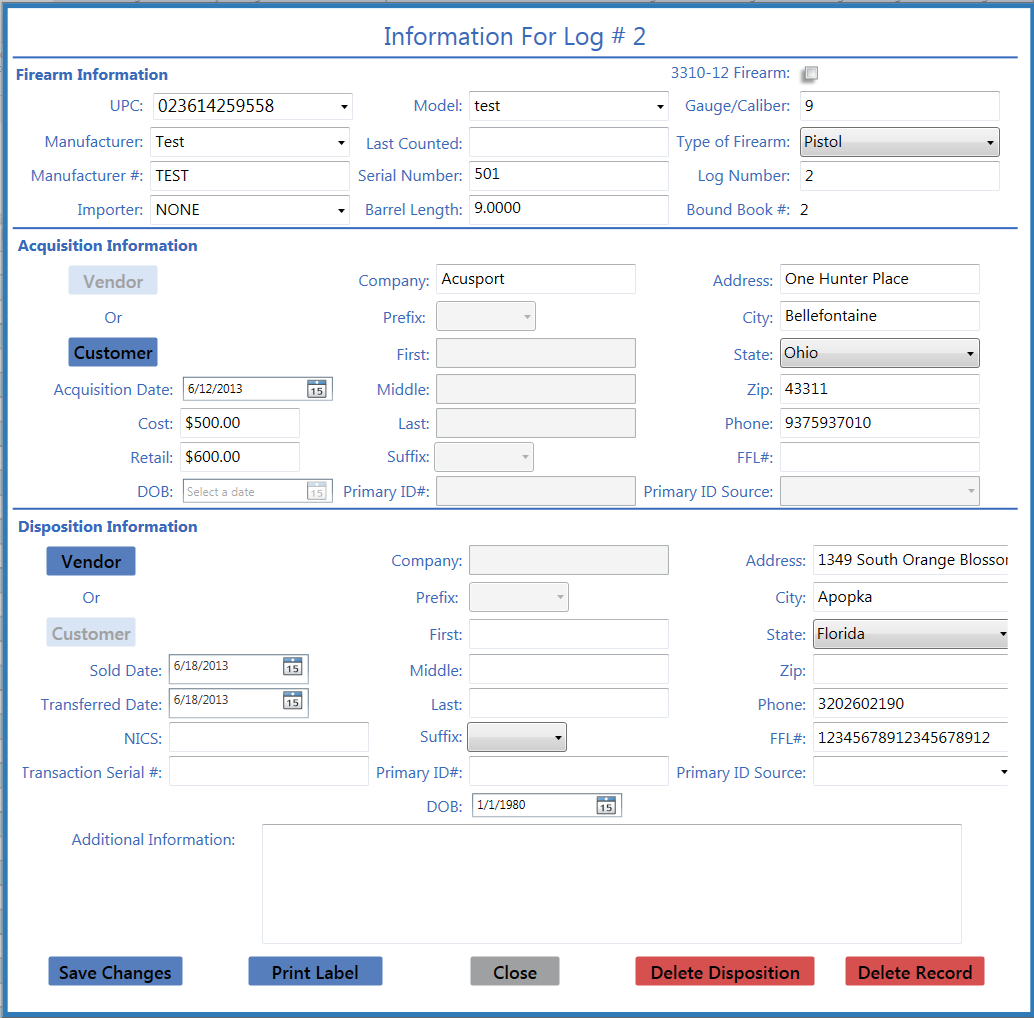
Click an active firearm record to display its Information for Log # (number) window.
Note: A firearm record (Log #) may be associated with multiple, sequential Bound Book # values, each of which is presented as a single line item in the list. The highest/last Bound Book # associated with a given Log # is its active record. Click this entry to display the firearm's active Information for Log # window. (Clicking a lower/earlier Bound Book # displays a grayed out, inactive, historical window that cannot be modified.)

Enter the transfer date (mm/dd/yyyy) or Select a Date with the calendar button in the Transferred Date field.
Note: Changes made will not be saved unless the Save Changes button is clicked and confirmed.
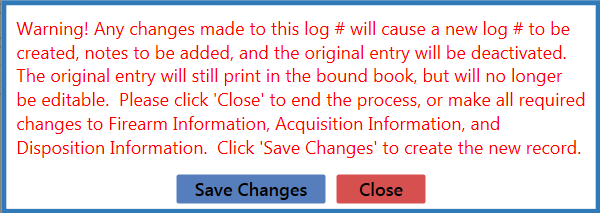
Click the Save Changes button to display a confirmation window.
Note: If the changes do not require the current record to be deactivated, the system updates the record and displays it in the Information for Log # (number) window. Click the Close button to close the Information for Log # (number) window.

Click the Save Changes button in the confirmation window to deactivate the current record, create a new record with the modified information and a new, system-generated Bound Book #, and generate Notes for both records.
Note: The new record’s number will be the current record’s number with the next sequential letter. (For example, if a firearm record with Bound Book # 1001 were manually changed, the newly generated record would be assigned Bound Book # 1001A. If this record were changed, the new record would be assigned Bound Book # 1001B.)

If needed, refer to Maintain a Bound Book for more information on maintaining firearm records.

