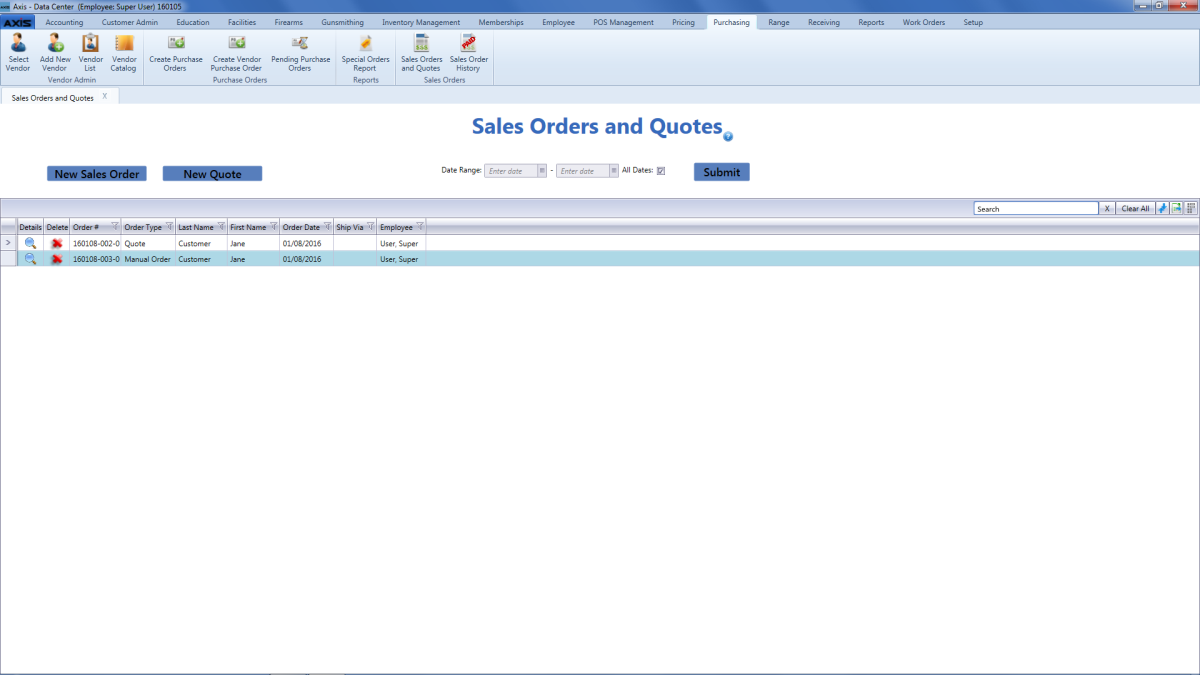
![]() Navigate to the Sales Orders and Quotes screen.
Navigate to the Sales Orders and Quotes screen.

Complete the following procedures as needed to create or edit a quote:
-
Create a New Quote
-
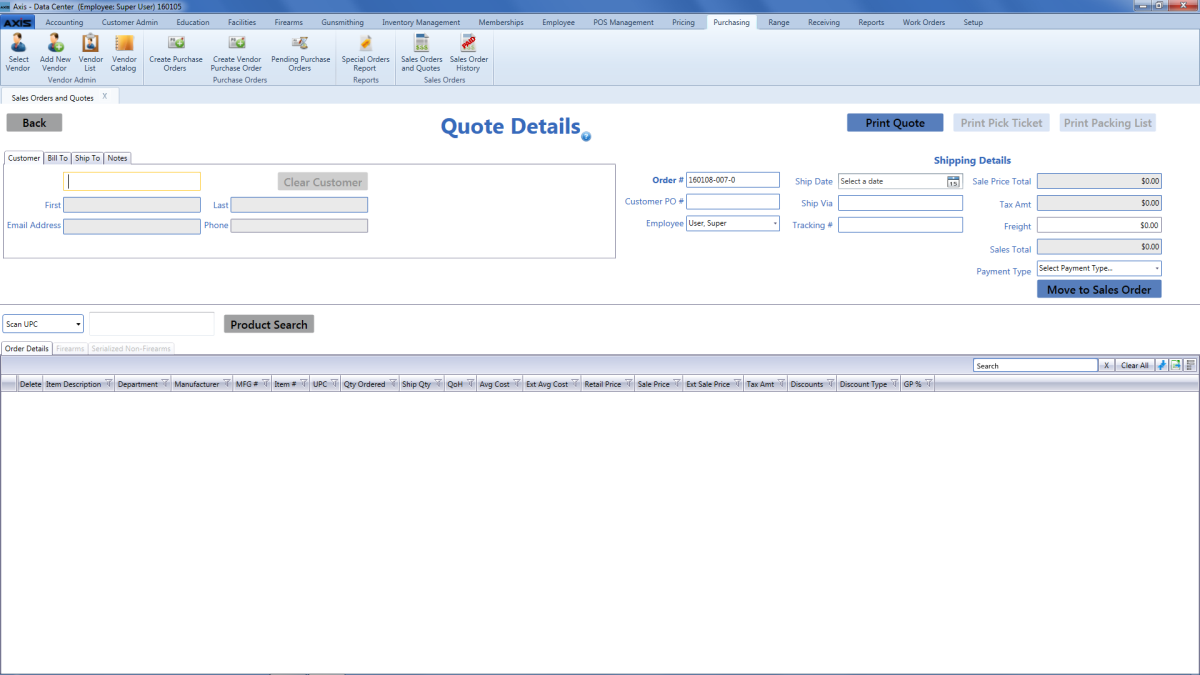
Click the New Quote button to display a blank Quote Details screen.
- Continue with the procedure below.
-
-
Edit an Existing Quote
-
Click a quote’s Details button to display its Quote Details screen.
- Continue with the procedure below.
-