2014
The AcuSport Retail Technology Group (AcuSport RTG) provides this document as a guide to the additions, changes, and improvements made to the AXIS™ Retail Management System software with the update to version 2.1 and 2.2.
This update includes the following highlights:
For assistance with technical issues and questions, contact RTG Support Line at 1-800-547-7120 or RTGSupport@AcuSport.com.
RTG has integrated the following features to help maintain compliance with PCI standards:
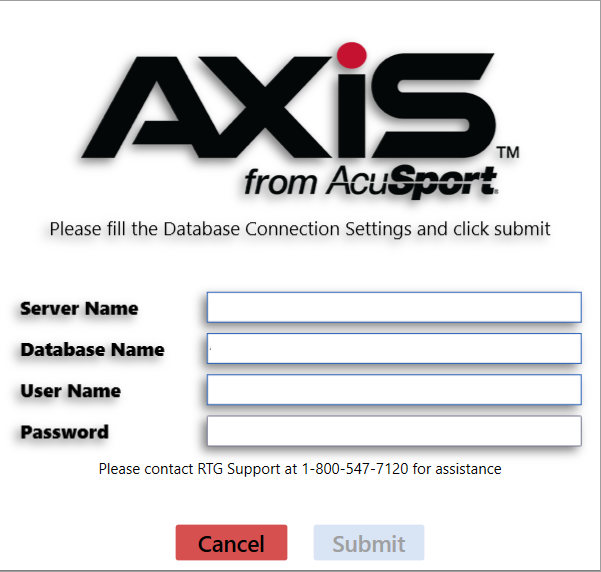
For new installations only: When the AXIS RMS (any application) is opened for the very first time, the system will display the Database Connection Settings window. Be sure to complete this setup when applicable. Refer to Log In with the Database Connection Settings Window for more information.
The rules for accessing AXIS applications have been modified to help prevent unauthorized access to the system. Refer to Password Requirements, Idle Time Limit, and Lock Out Timer for more information.
Permissions (roles) have been created to allow/restrict access to newly integrated functions. Refer to New Permissions (Roles) in Security Management for more information.
The Credit Card Setup screen allows for the secure entry of payware credentials, including an option for a backup payware connection (URL) to be used in the event the primary URL is unavailable. Refer to Manage Credit Card Processor Credentials for more information.
The system no longer stores and displays entire credit card numbers for scheduled payments (e.g., recurring membership fees). The system now encrypts credit card information and uses a card's last 4 digits and expiration date to identify it. Refer to Recurring Membership Status screen and Credit Card Information window for more information.
The PCI Audit Log screen allows the user to identify which employees are making changes to data and system settings. Refer to View the Audit Log for more information.
RTG has developed the following features to improve firearm tracking and records.
The following serial types (Type of Firearm) have been added to the system:
These serial types are available in the following locations:
The UPC field has been modified to include a drop-down menu in the following firearm-related locations:
The values in the drop-down menu are established through the Firearm UPC screen.
The Firearm UPC screen allows the user to view, add to, and edit the list of firearm UPCs that will be used to populate the UPC drop-down field in select firearm-related locations. Refer to Manage Firearm UPCs for more information on using this screen.
If a UPC has been assigned to an unsold firearm, the Is Firearm checkbox in the UPC's Product Edit window may not be unchecked.
For new installations only: When the AXIS RMS (any application) is opened for the very first time, the system will display the Database Connection Settings window.
Note: Refer to Log In with the Database Connection Settings Window for more information.
The rules for accessing AXIS applications have been modified to help prevent unauthorized access to the system. The following requirements and rules apply to all users (login IDs) who have AuditLogView and/or CreditCardSetup permissions (including administrative and superuser accounts).
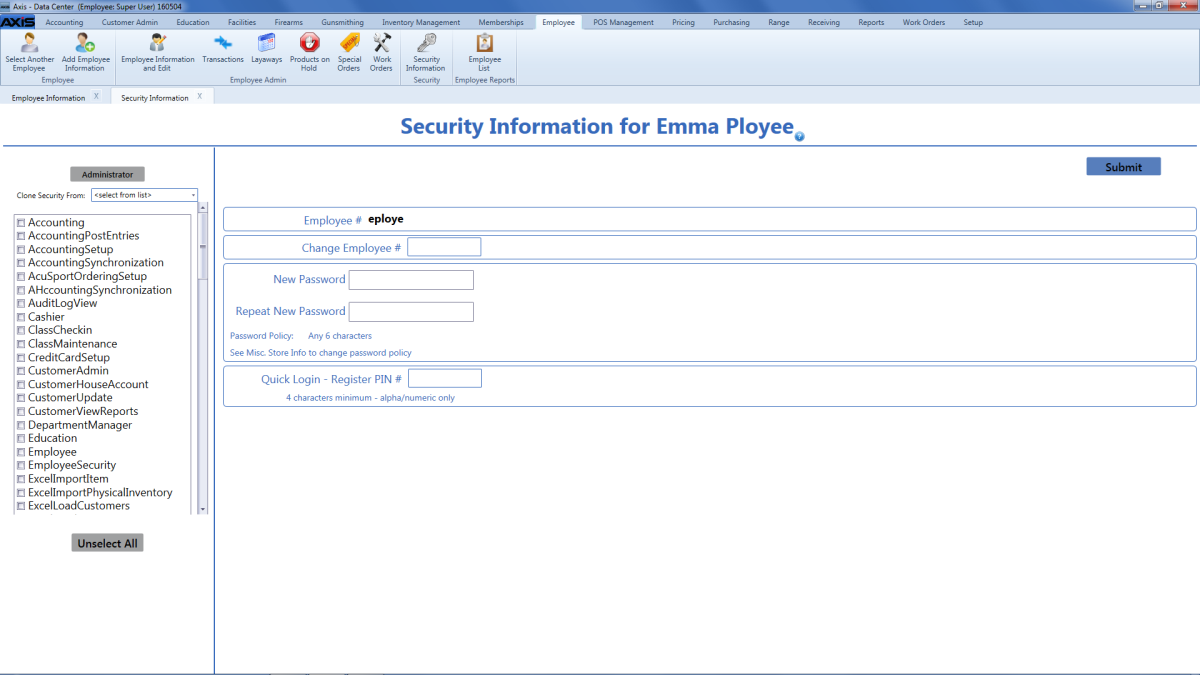
The following permissions have been added to the Security Information for screen:
Note: Refer to Manage an Employee’s System Credentials for information on using this screen's functions.
A user must be granted the AuditLogView permission to view/use the PCI Audit Log button and the PCI Audit Log screen.
A user must be granted the CreditCardSetup permission to view/use the CC Setup button and the Credit Card Setup screen.
The PCI Audit Log button has been added to the Reports ribbon. Click this button to display the PCI Audit Log screen.
Note: A user must be granted the AuditLogView permission to view/use this button.

The CC Setup button has been added to the Setup ribbon. Click this button to display the Credit Card Setup screen.
Note: A user must be granted the CreditCardSetup permission to view/use this button.

The Firearm UPCs option has been added to the menu of options under the Firearms option on the Setup ribbon. Click this option to display the Firearm UPC screen.
The PCI Audit Log screen allows the user to view login attempts, successful logins and logouts, changes made to Security Management settings, views of and changes made to the Credit Card Setup screen, and views of the PCI Audit Log screen. Select Reports > PCI Audit Log from the main menu to display this screen. Refer to View the Audit Log for more information on using this screen.
Note: A user must be granted the AuditLogView permission to view/use this screen.
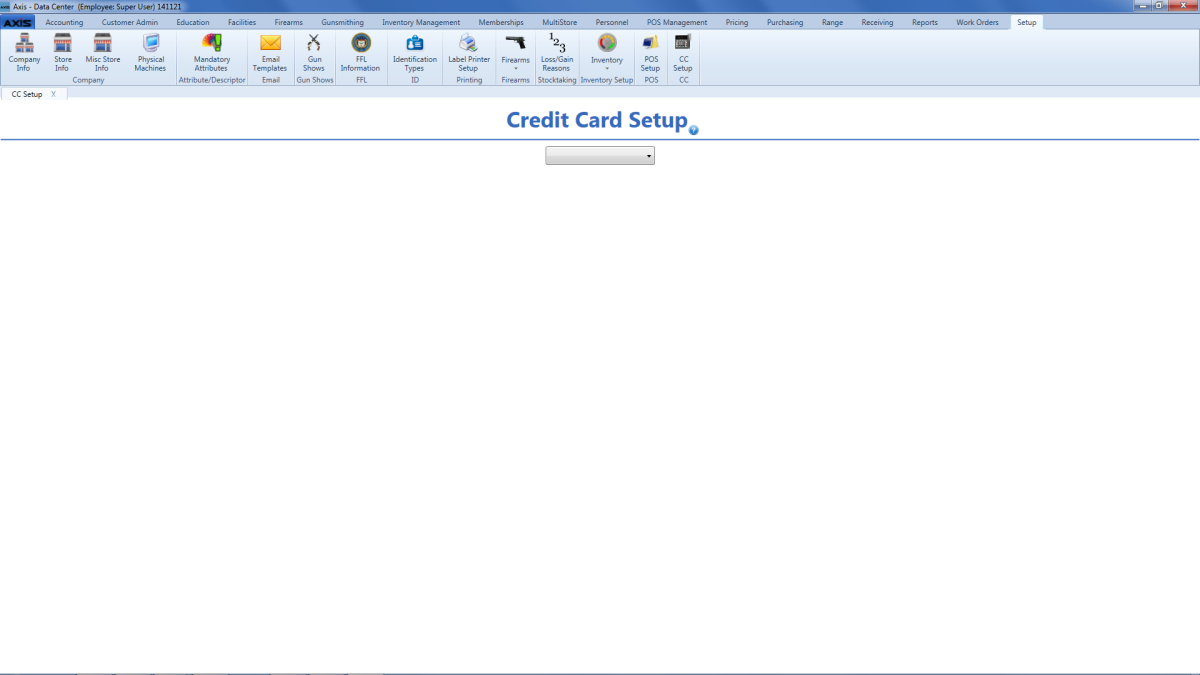
The Credit Card Setup screen allows the user to select a credit card provider (i.e., Payware) and view or edit the associated configuration settings. Select Setup > CC Setup from the main menu to display this screen. Refer to Manage Credit Card Processor Credentials for more information on using this screen.
Note: A user must be granted the CreditCardSetup permission to view/use this screen.
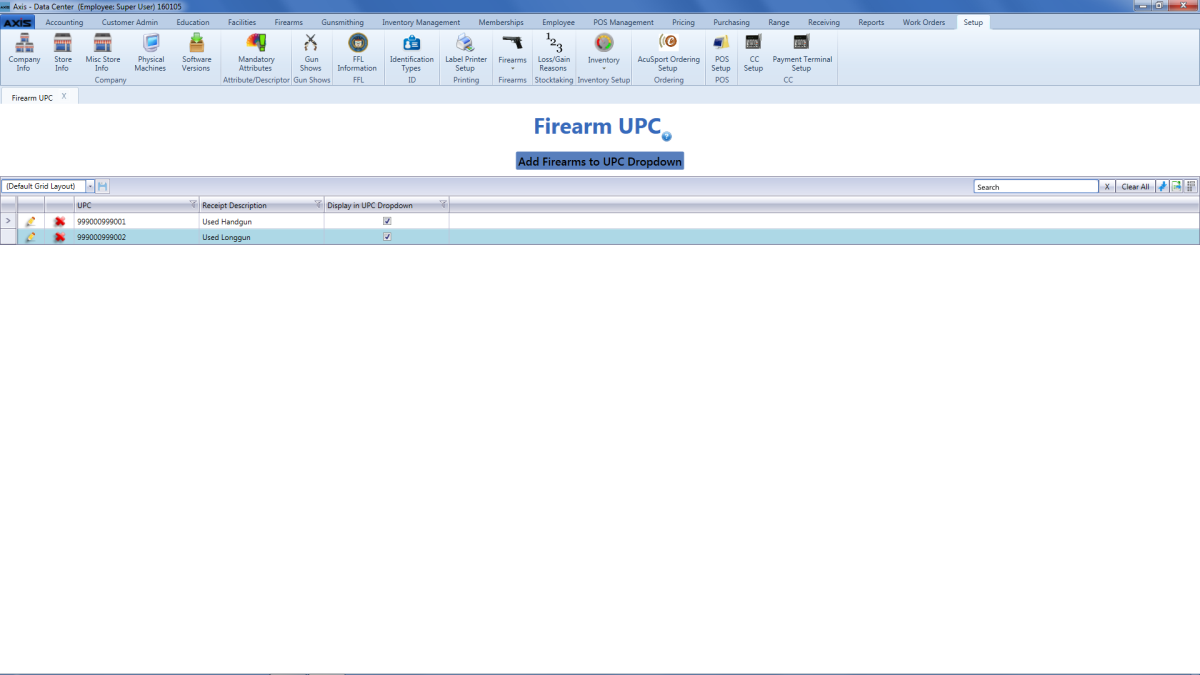
The Firearm UPC screen allows the user to view, add to, and edit the list of firearm UPCs that will be used to populate the UPC drop-down field in multiple locations. Select Setup > Firearms > Firearm UPCs from the main menu to display this screen. Refer to Manage Firearm UPCs for more information on using this screen.

The Firearm Description window has been updated with the following feature(s):
Refer to Describe a Firearm for more information on using this window.
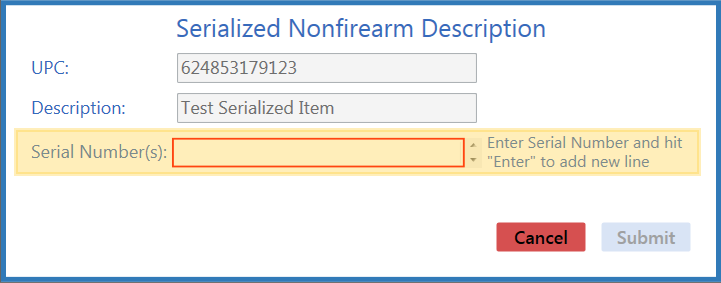
The Serialized Nonfirearm Description window has been updated with the following feature(s):
Refer to Describe a Serialized Non-Firearm Item for more information on using this window.
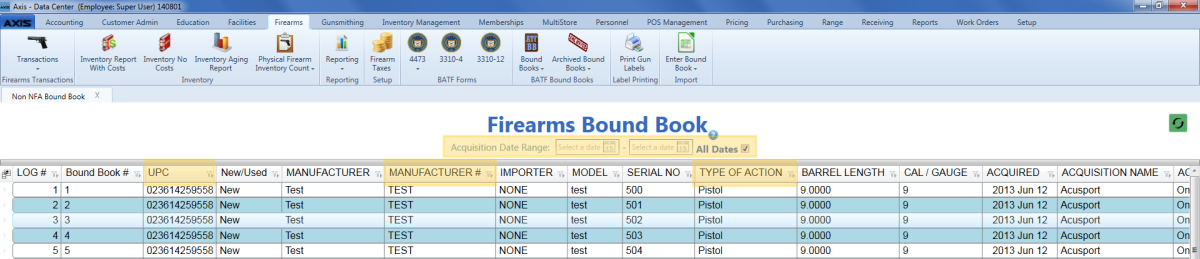
The Bound Book screens have been updated with the following feature(s):
The Acquisition Date Range fields have replaced the Date Range fields at the top of the Bound Book screens.
Note: When a screen is first opened, the date fields are blank and the screen displays the entire Bound Book record.
The Type of Action column (and the Type column in a printed Bound Book) includes new Serial Types for associated firearms.
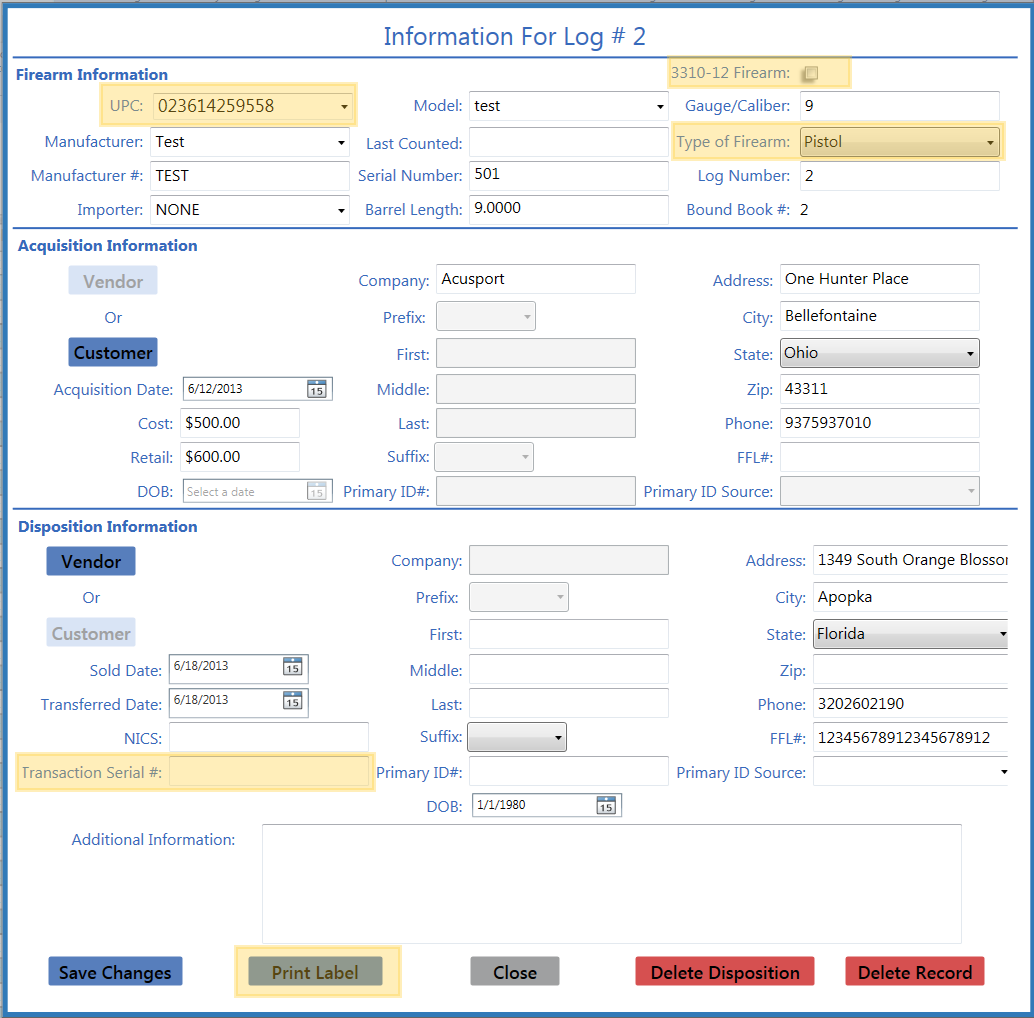
The Information for Log # window has been updated with the following feature(s):

The Import data from Excel screen has been updated with the following feature(s):
The Is 3310-12 column has been added to the screen (and to the Bound Book Data Import template).
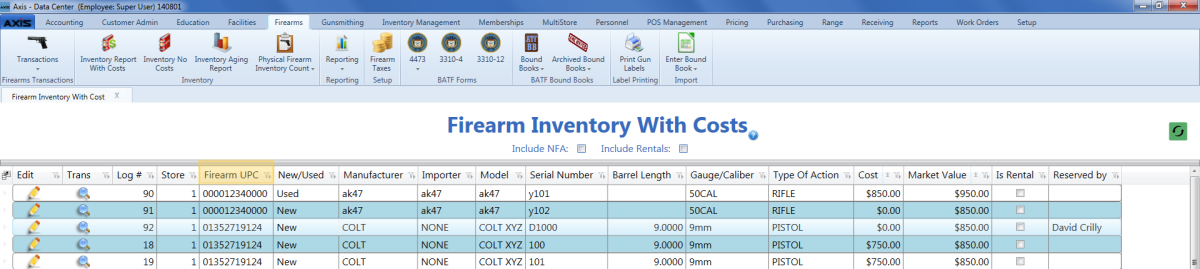
The Firearm Inventory With Costs screen has been updated with the following feature(s):
Note: Select Firearms> Inventory Report With Costs to display this screen.
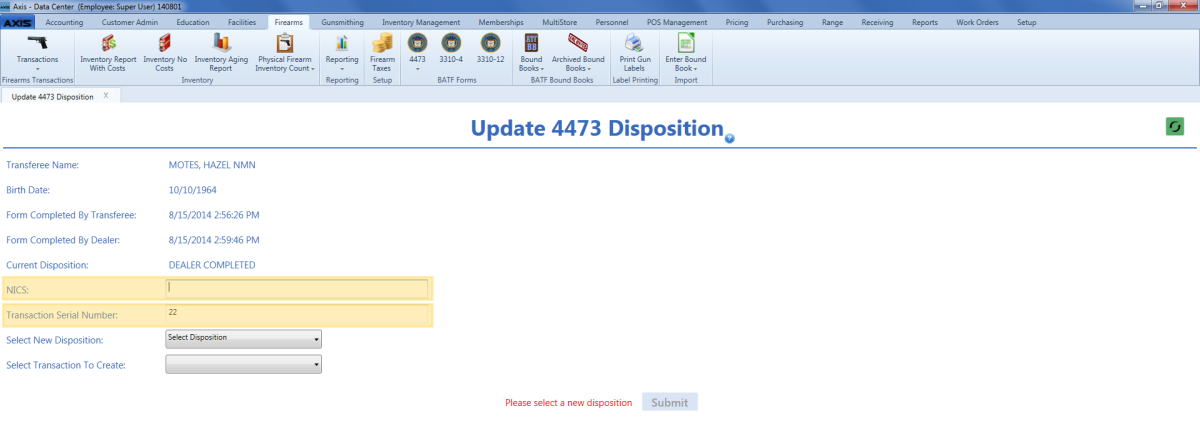
The Update 4473 Disposition screen has been updated with the following feature(s):
Note: Select Firearms > 4473 > Update 4473 Disposition from the main menu and click a customer's name to display this screen.
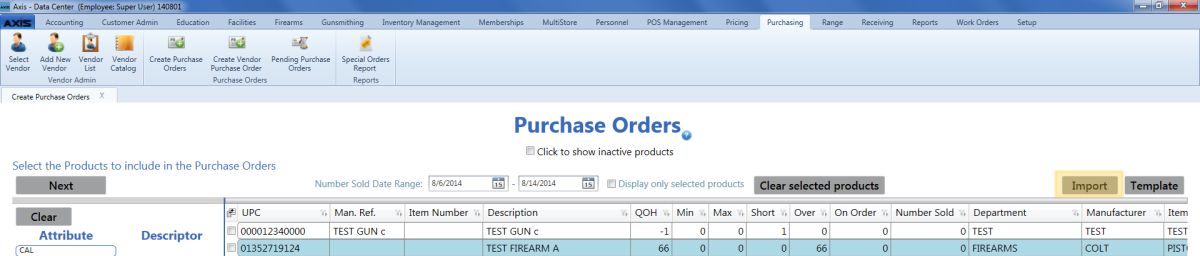
The Purchase Orders screen has been updated with the following feature(s):
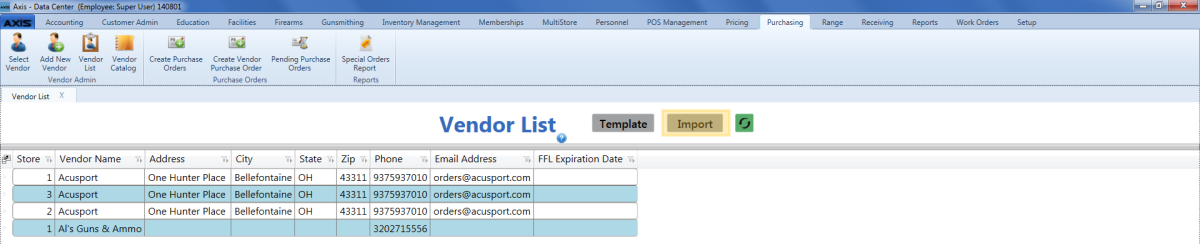
The Vendor List screen has been updated with the following feature(s):
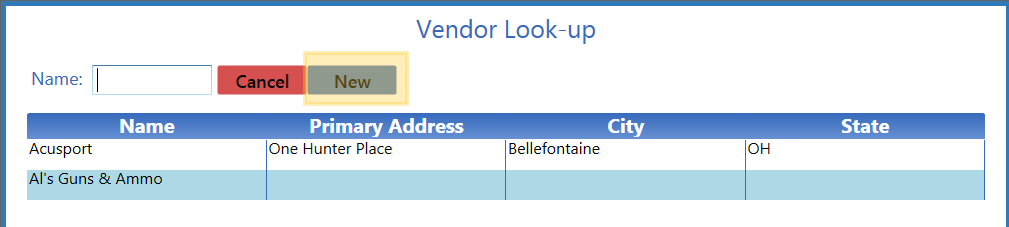
The Vendor Look-up screen has been updated with the following feature(s):
![]()
The Transfer Agent Look-up screen has been updated with the following feature(s):

The Customer Information for screen has been updated with the following feature(s):
The County field allows this information to be entered in and shared between the AXIS RMS applications. This field has also been added to the following locations:
Customer Information window in the Data Center application
Customer List screen in the Data Center application
Best Customer List screen in the Data Center application
Member List screen in the Data Center application
Note: To display this screen, select Customer Admin > Add New Customer from the main menu (or select a customer and then select Customer Admin > Customer Info and Edit to display an existing customer's screen).
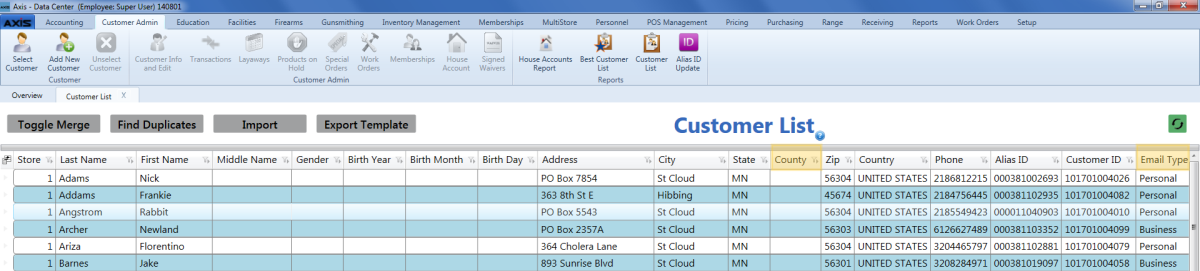
The Customer List screen has been updated with the following feature(s):
The Email Type column has been added to this screen (and to the Customer Data Import template).
Note: If the Email Address field is populated, the Email Type field is required. An entry in the Email Type field must exactly match one of the defined email types (Personal, Business, or Other).
Note: To display this screen, select Customer Admin > Customer List from the main menu.

The Recurring Membership screen has been updated with the following feature(s):
The Last Four column displays the last four digits of the credit card number associated with the member's recurring payment.
Note: If this column displays a blank field after the conversion, the system could not convert the member's billing information and a new credit card may be needed to continue. Open the associated Credit Card Information window for more information.

The Credit Card Information screen has been updated with the following feature(s):
The First Name, Middle Initial, and Last Name fields have replaced the Name as it appears on card field in this window.
The Credit card numberfield displays 12 asterisks (*) followed by the last 4 digits of the credit card. To edit the credit card number, (1) click in the field to clear it, (2) enter the new number, and (3) click the Submit button.
Note: To display this window, navigate to the Recurring Membership screen and click a member's Edit button.
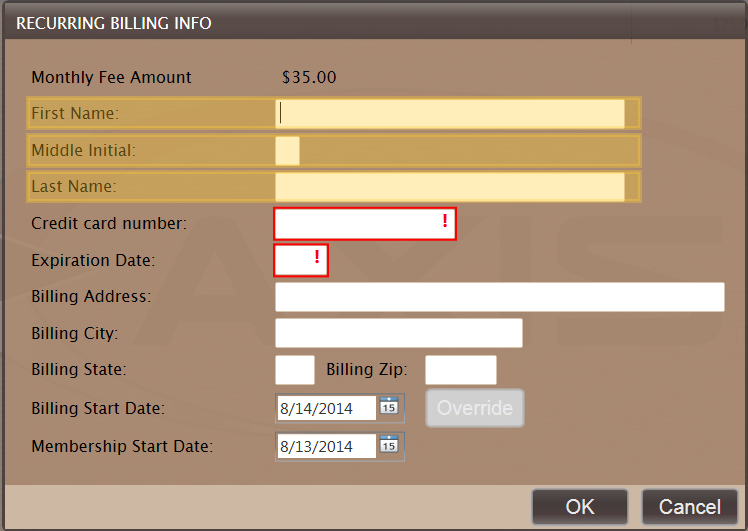
The Recurring Billing Info window in the Register application has been updated with the following feature(s):
The First Name, Middle Initial, and Last Name fields have replaced the name field in this window.
Note: To display this window in the Register application, sell (register a member for) a membership a with recurring billing.

The Firearm Return window in the Register application has been redesigned to offer a new prompt ("Was transfer completed on firearm?") and allow the user to select one of the following options in response:
No - original bound book entry will be modified
Yes - a new bound book entry will be created
Note: To display this window in the Register application, (1) select a customer who previously purchased a firearm, (2) click the History tab, (3) click the Transactions tab, (4) click a firearm transaction to display its detail record, and (5) double-click the firearm.
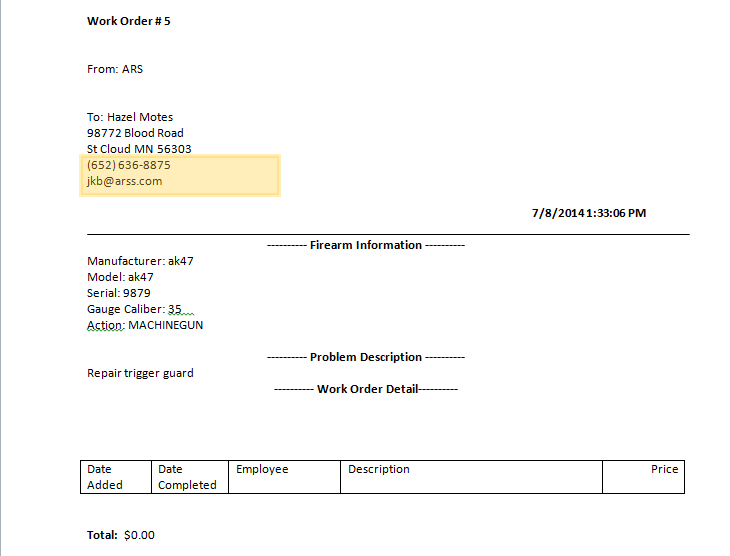
The customer's (primary) Phone and Email fields have been added to the Gunsmithing Work Order document.
Note: To display this document, select Gunsmithing > Open Work Orders (or Gunsmithing > Delivered Work Orders from the main menu and click a work order's Print button.
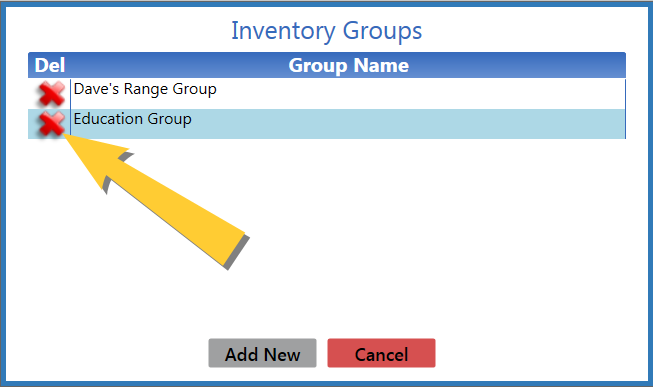
An inventory stocktaking group can be deleted from the Inventory Groups window by clicking its Delete button if no other users are actively logged into and viewing/using the group. When the button is clicked, the system checks the group for items with total count values and displays a deletion confirmation prompt indicating this status. (When a group is deleted, its items are once again available for inclusion in another group.)
Note: If another user is logged into the group when the button is clicked, the group is locked and the system will display a message indicating the group cannot be deleted and why.
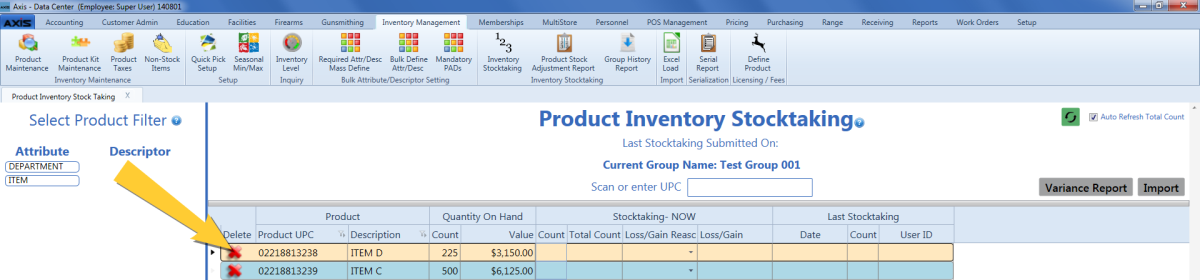
An item in an inventory stocktaking group can be deleted from the Product Inventory Stocktaking screen by clicking its Delete button. When the button is clicked, the system checks the item for a total count value and displays a deletion confirmation prompt indicating this status. (When an item is deleted from a group, the item is once again available for inclusion in another group.)
Note: If another user is logged into the group and counting the same item when the button is clicked, that user will be presented with a message indicating the item has been deleted.
Note: Previously, clicking an item's button only removed the count entered for the item on the device being used.
In the Data Center application, the Group History Report screen provides the Previous QoH column to display an item's Quantity on Hand from before the stocktaking occurred.
Note: Previously, the column was named QoH.
In the Data Center application, the Point of Sale Cash Report screen displays results for all cash drawers, even if a drawer did not have any sales.
Note: Previously, the report would not populate if any drawer did not have a sale.
In the Data Center application, the Sales Item Report screen displays correctly calculated values in the Cost column.
Note: Previously, the report could incorrectly calculate Cost values.
In the Data Center application, the Create Purchase Order screen (for vendor purchase orders) displays the Create PO button if any selected item has a quantity of one or more. (If all selected items have zero quantities, the button is not available.)
Note: Previously, the Create PO button was not available if any item on the purchase order had a zero quantity.
The Last Name field on the Name & SSN screen in the Form 4473 application will populate with the contents of both the Last Name field and the Suffix field (if present) in a customer's record.
Note: Previously, the contents of the Suffix field would not populate the 4473 form.
If an edit is made to the Last Name field on the Name & SSN screen in the Form 4473 application and the field does not contain a blank space, the change will be reflected in the customer record in the Register and Data Center applications. (If the field does contain a blank space, the system will not update the customer record and the user will need to manually update the record as needed.)
Note: Previously, the system did not consider whether the Last Name field contained a space and would always update the customer record.
The U.S. State drop-down field in the Active Duty Military section of the Primary Residence screen in the Form 4473 application now includes a blank option to allow the user to clear the field if a state was erroneously selected.
Note: Previously, once a state was entered/selected from the drop-down, the system did not offer a way to return the field to a blank state.
When a firearm is selected during the updating of an electronic 4473 form, the system retrieves the firearm's serial type from its Bound Book and populates column (question) 29 of the electronic 4473 form with the appropriate mapped value below:
| Serial Type value in Bound Book | Type value to populate column 29 on 4473 form |
| Frame | Frame |
| Pistol | Pistol |
| Receiver | Receiver |
| Revolver | Revolver |
| Rifle | Rifle |
| Shotgun | Shotgun |
| Antique; Any Other Weapon; Combination; Destructive Device; Machine Gun; Other; Pistol Grip Firearm; Short Barrel Rifle; Short Barrel Shotgun; Silencer | Other Firearms |
If an edit is made to the Type of Identification field or the Number on Identification field during the updating of an electronic 4473 form, the system reflects the change(s) in the corresponding firearm entry in the appropriate Bound Book
Note: Previously, the system did not update the Bound Book with the change(s).
An entry made in the NICS Transaction Number and/or Transaction Serial Number field in the Form 4473 application for a firearm on layaway will be added to the corresponding firearm entry in the appropriate Bound Book.
Note: Previously, the system would not transfer this information into the Bound Book.
|
|
|
|
© 2016 AcuSport Corporation |